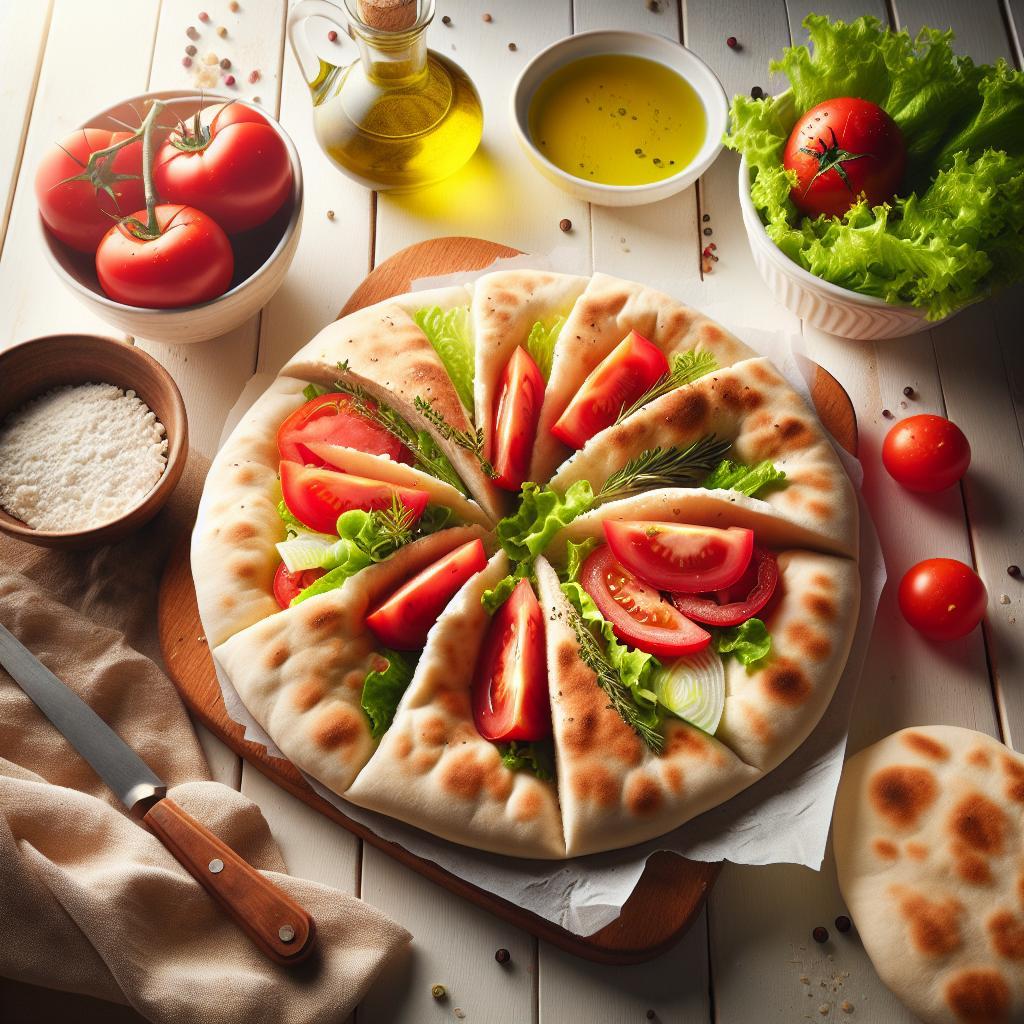
There’s something endlessly satisfying about tearing into a warm, pillowy pita bread fresh from your own oven-its delicate pocket ready to cradle your favorite fillings, from savory falafel to vibrant Mediterranean salads. While store-bought pita often settles for convenience over character, mastering the art of homemade pita transforms a simple loaf into a culinary canvas, bursting with flavor and texture uniquely your own. In this step-by-step guide, we’ll unravel the secrets to crafting perfect pita bread at home, demystifying each stage from mixing the dough to achieving those iconic, golden puffs. Ready to embark on a baking adventure that fills your kitchen with irresistible aromas and your table with authentic, soft pockets of bliss? Let’s dive in.
Crafting Perfect Homemade Pita Bread: A Step-by-Step Guide
Crafting perfect homemade pita bread begins with an appreciation for its rich Middle Eastern heritage and the unique charm of its pocket – a marvel that transforms a simple flatbread into an ideal vessel for savory fillings. From my earliest kitchen experiments, mastering this dough has been an inspiring journey, revealing how patience, precise ingredients, and technique unite to bake pita that’s both soft and fluffy, with that signature airy pocket everyone loves. This guide invites you to channel the essence of traditional pita bread, crafting loaves that bring warmth and rustic authenticity to any meal.
Prep and Cook Time
- Preparation: 20 minutes
- Proofing: 1 hour 30 minutes
- Baking: 10 minutes
- Total Time: Approximately 2 hours
Yield
- 8 medium-sized pita breads
Difficulty Level
- Medium
Ingredients
- 3 cups all-purpose flour, sifted
- 1 cup warm water (about 110°F)
- 2 teaspoons active dry yeast
- 1 teaspoon granulated sugar
- 1 teaspoon fine sea salt
- 2 tablespoons extra virgin olive oil
- Optional: 1 tablespoon whole wheat flour for nuttier flavor
Instructions
- Activate the yeast: In a small bowl, combine warm water, sugar, and yeast. Stir gently and allow the mixture to rest for 5-7 minutes until frothy, signaling active yeast.
- Mix dry ingredients: In a large mixing bowl, whisk together the sifted all-purpose flour, fine sea salt, and whole wheat flour if using.
- Form the dough: Create a well in the center of the dry ingredients. Pour in the yeast mixture and olive oil. Using a wooden spoon or hand, mix until the dough begins to come together.
- Knead the dough: Transfer the dough to a lightly floured surface. Knead vigorously for 8-10 minutes, folding and pressing, until the dough is smooth, elastic, and slightly tacky but not sticky.
- First proof: Place the dough in a clean, lightly oiled bowl, turning once to coat. Cover with a damp kitchen towel or plastic wrap. Let it rise in a warm spot for about 1 hour, or until doubled in size.
- Divide and rest: Punch down the dough gently and transfer back to the floured surface. Divide it into eight equal balls. Cover and rest for 15 minutes – this rest makes the dough easier to roll and helps pocket formation.
- Shape the pita: Roll each dough ball into a round disc about 6-7 inches in diameter and 1/4 inch thick. Try to keep thickness even – too thin will risk cracking, and too thick will prevent the pocket from forming.
- Preheat and bake: Place a baking stone or heavy-duty baking sheet in your oven and preheat to 475°F (245°C). Once hot, carefully place 2-3 pitas on the stone, baking for 3 minutes on one side, then flipping and baking for another 2-3 minutes. The dough will puff dramatically, creating the pocket.
- Cool and store: Transfer freshly baked pita to a clean towel, covering them to keep soft. Serve warm or allow to cool completely before storing in airtight containers.
Chef’s Notes: Tips for Success
- Ingredient quality is key: Use fresh yeast and sift your flour to avoid lumps that can hinder dough texture.
- Temperature matters: Warm water activates yeast best; too hot can kill it, while too cold slows fermentation.
- Proofing environment: A slightly warm, draft-free area helps the dough rise evenly – a turned-off oven with a bowl of warm water works wonders.
- Rolling skill: Use light pressure to maintain dough bubbles that create pockets during baking.
- Oven heat: Your oven must be hot and preheated with a baking stone or thick tray to produce steam instantly – the secret to that puff.
- Make-ahead: Dough can be refrigerated overnight, just bring to room temperature and punch down before proceeding.
Baking Tips to Ensure Fluffy and Soft Homemade Pita
To maximize fluffiness, baking quickly at very high heat is essential. Keep your baking stone hot, and limit the number of pitas baked at once to avoid heat loss. During baking, watch for the characteristic puff and slight golden blistering – this means the steam has formed the internal pocket perfectly. After removing, immediately wrap the pita in a clean towel to trap moisture and keep them soft.
Serving Suggestions
Serve your warm pita alongside a vibrant homemade hummus or stuffed with grilled vegetables, falafel, or your favorite spiced chicken. For a fresh touch, garnish with a sprinkle of za’atar, sesame seeds, or fresh herbs like parsley or mint. They also pair beautifully with creamy tzatziki or a simple drizzle of extra virgin olive oil and a pinch of sea salt.

| Nutrient | Per Serving (1 pita) |
|---|---|
| Calories | 150 |
| Protein | 5g |
| Carbohydrates | 28g |
| Fat | 3g |
For further reading on the science behind bread baking, visit the King Arthur Baking Guide.
Q&A
Q&A: Crafting Perfect Homemade Pita Bread – A Step-by-Step Guide
Q1: What makes homemade pita bread different from store-bought versions?
A1: Homemade pita bread bursts with fresh flavor and a soft, pillowy texture that commercial varieties often lack. Plus, making it yourself means no preservatives or additives-just simple ingredients and your personal touch!
Q2: What basic ingredients do I need to start baking pita bread at home?
A2: The magical quartet: flour, warm water, yeast, and a pinch of salt. Optional extras like olive oil or sugar can enhance flavor and texture, but the basics are beautifully simple.
Q3: How important is the dough resting time?
A3: Vital! Resting lets the yeast wake up and bubble, creating that airy structure. It also relaxes the gluten, making the dough stretchy and easier to shape. Patience here means pita perfection.
Q4: How do I know when the dough is ready to bake?
A4: After resting and its second rise, the dough should feel soft and springy. Rolling it into thin discs carefully is key-too thick, and it won’t puff; too thin, and it may tear. Practice makes perfect!
Q5: What’s the secret to getting that iconic pita pocket?
A5: The pocket forms when the dough hits a super-hot surface-like a preheated cast iron skillet or baking stone. The moisture inside turns to steam quickly, puffing the dough and creating the hollow center.
Q6: Can I bake pita bread without a traditional oven?
A6: Absolutely! You can use a stovetop method by heating a skillet over medium-high heat. Cook each side just long enough to puff and brown. It’s hands-on, fun, and yields delicious results.
Q7: How should I store leftover pita bread?
A7: To keep pita soft and pliable, wrap it tightly in plastic wrap or place it in an airtight container. For longer storage, freezing is your friend-just thaw at room temperature and warm before serving.
Q8: Any creative ways to enjoy homemade pita?
A8: Endless possibilities! Slice it open for classic sandwiches or gyro wraps, cut into triangles and toast for homemade chips, or use as a base for pizzas. Homemade pita invites culinary creativity!
Q9: What troubleshooting tips do you have for first-time pita bakers?
A9: Don’t get discouraged if your first batch lacks a pocket or turns dense. Check your oven or skillet heat-too low, and the bread won’t puff. Also, quality yeast and proper kneading are game-changers. Keep experimenting!
Q10: What’s the best mindset when baking homemade pita bread?
A10: Approach it like a delicious adventure. Each step is a chance to learn and savor the magic of transforming flour and water into golden, fluffy pockets of joy. Enjoy the process as much as the product!
Concluding Remarks
Baking your own pita bread at home is more than just a culinary task-it’s a rewarding journey that connects you to timeless traditions and the simple magic of flour, water, and heat. With each fluffy, pocketed pita you pull fresh from the oven, you’re not just making bread-you’re crafting a perfect vessel for endless meals and memories. Whether stuffed with vibrant veggies, savory meats, or dipped in your favorite hummus, homemade pita elevates every bite. Armed with this step-by-step guide, you now hold the keys to unlocking pita perfection anytime you crave it. So roll up your sleeves, warm up your oven, and let your kitchen fill with the irresistible scent of freshly baked bliss-it’s time to savor the art of homemade pita bread.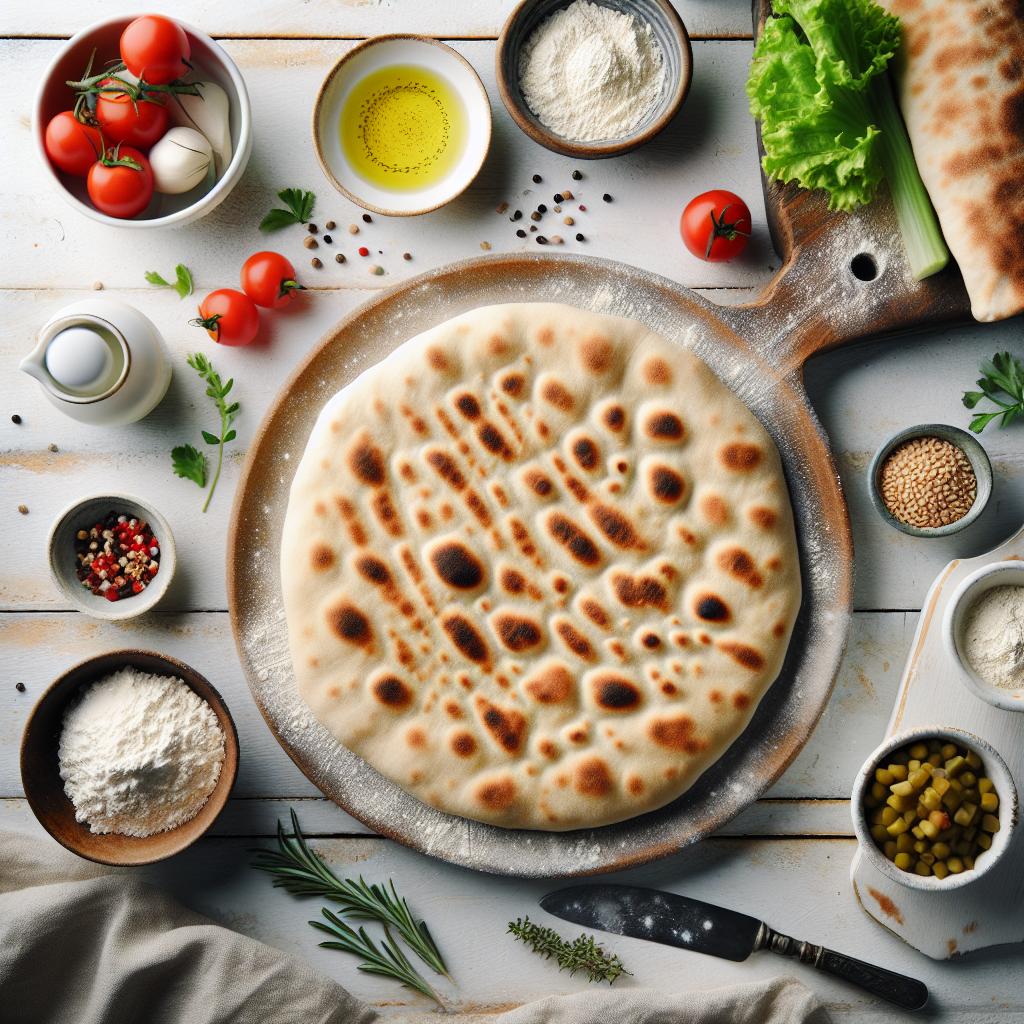


